Wednesday, 17 February 2021


The dumpster is about 15cm long and 7.5cm deep. It is built to the dimensions of a 2 yard slant dumpster. It comes complete with opening doors as does the phone box and it also has fully rotating wheels in both axis', this was not particularly easy and probably unnecessary but I wasn't going to be happy putting this level of work in without following it through to the end. I also painted it with a special mixture of paints that should scratch off with only a damp brush to produce realistic ageing, that comes later though.


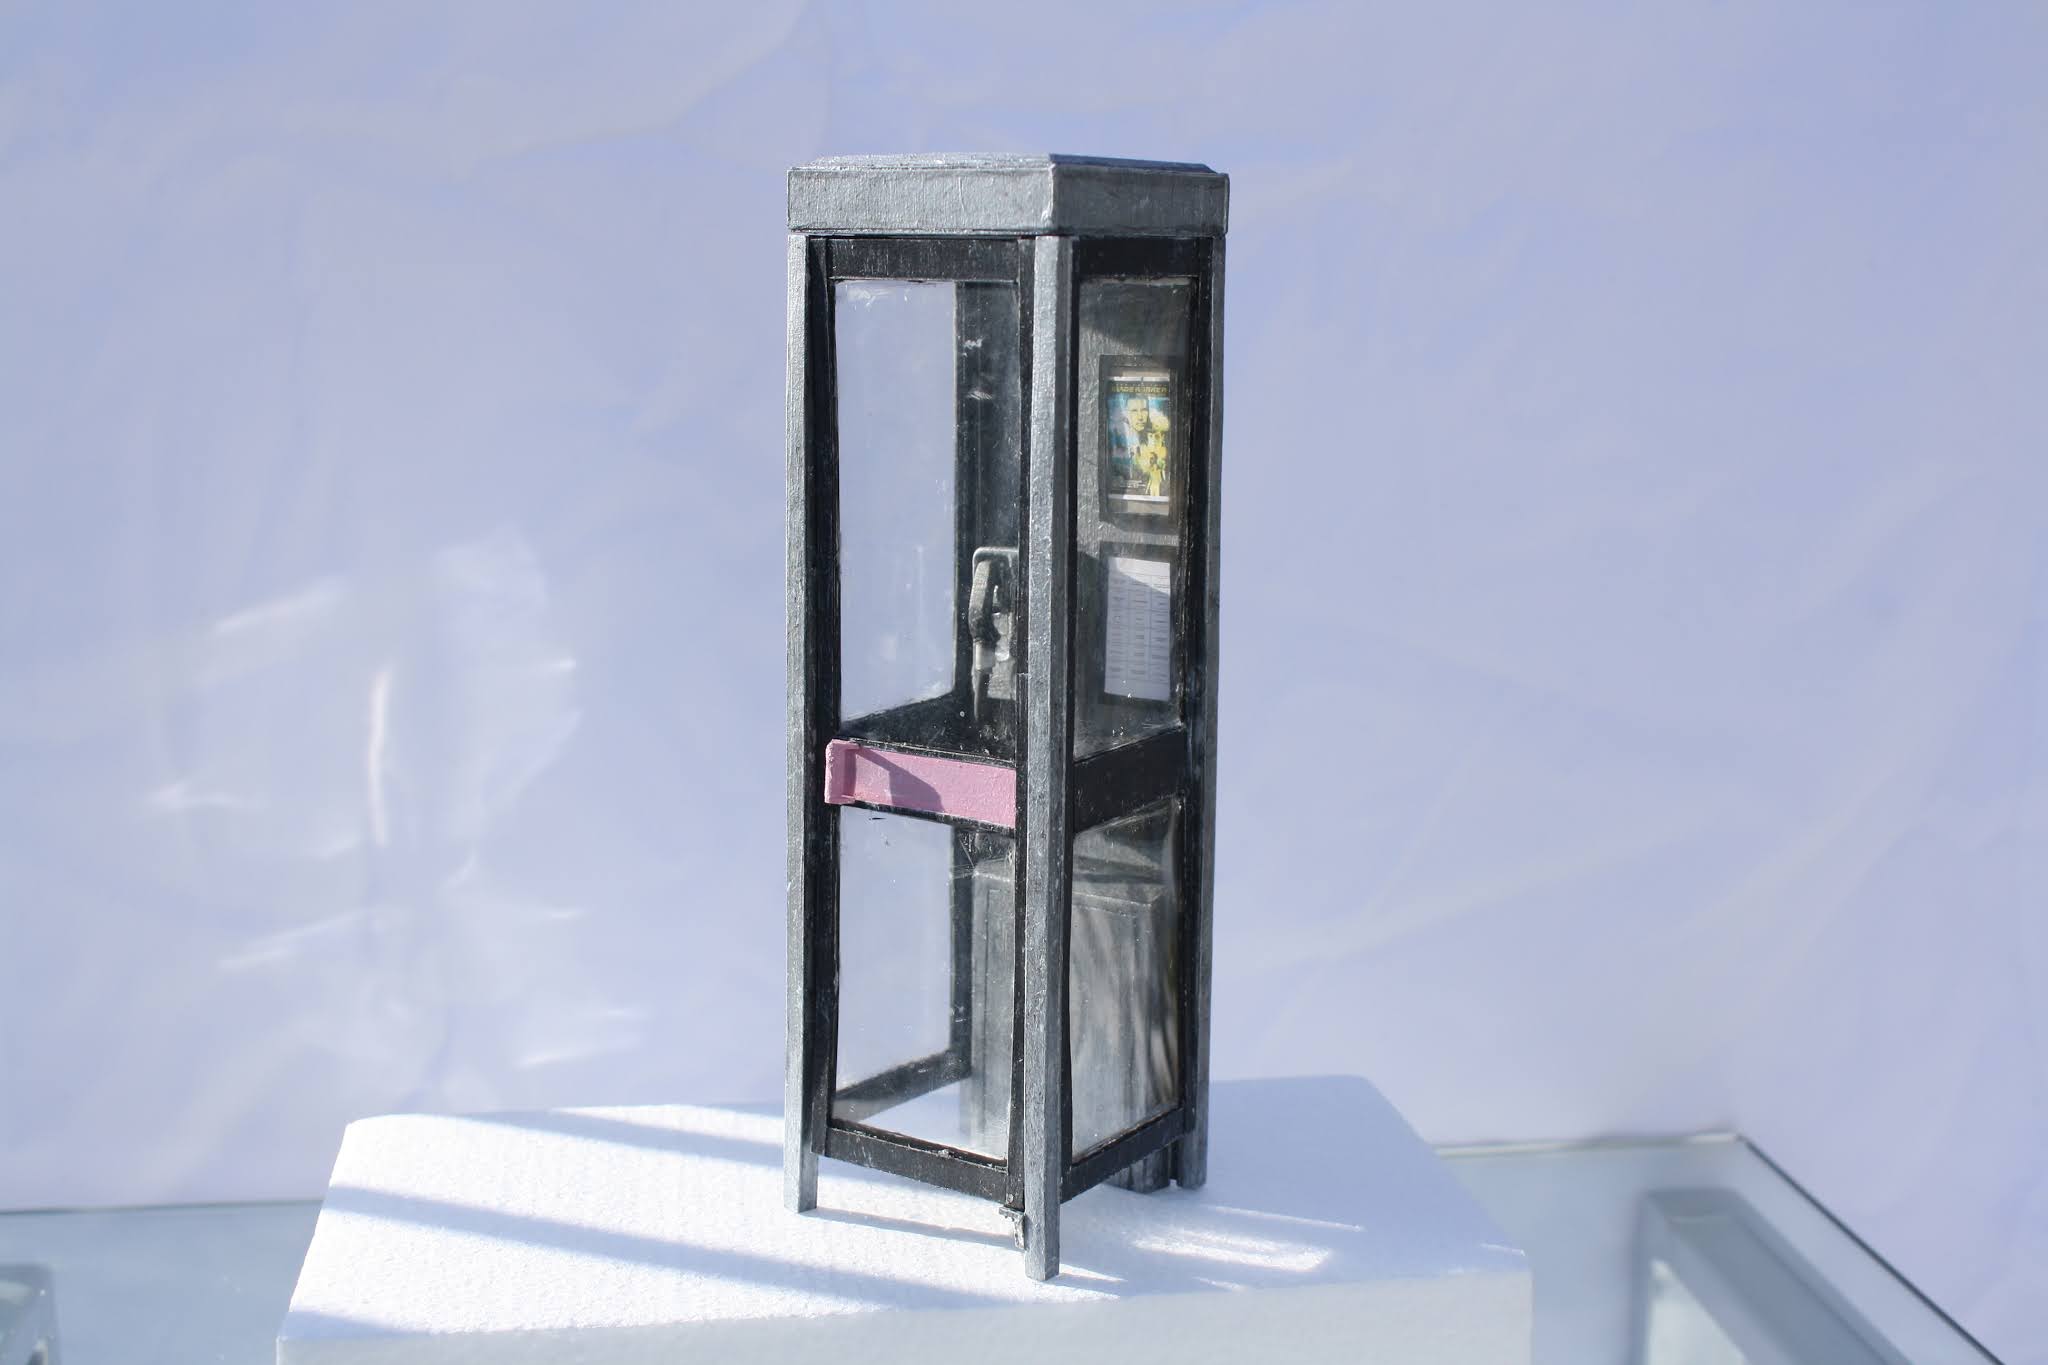
I only now realised I hadn't uploaded any photos of the other models yet, so here is the phone box. It stands around 18cm tall and about 5 1/2cm wide it like the other two models is built to 1/12th scale and so appears to be the correct size as the others.


 Ageing Models

I needed to display how these models would be aged as the scenarios progressed and the locations depicted in their backgrounds changed. 

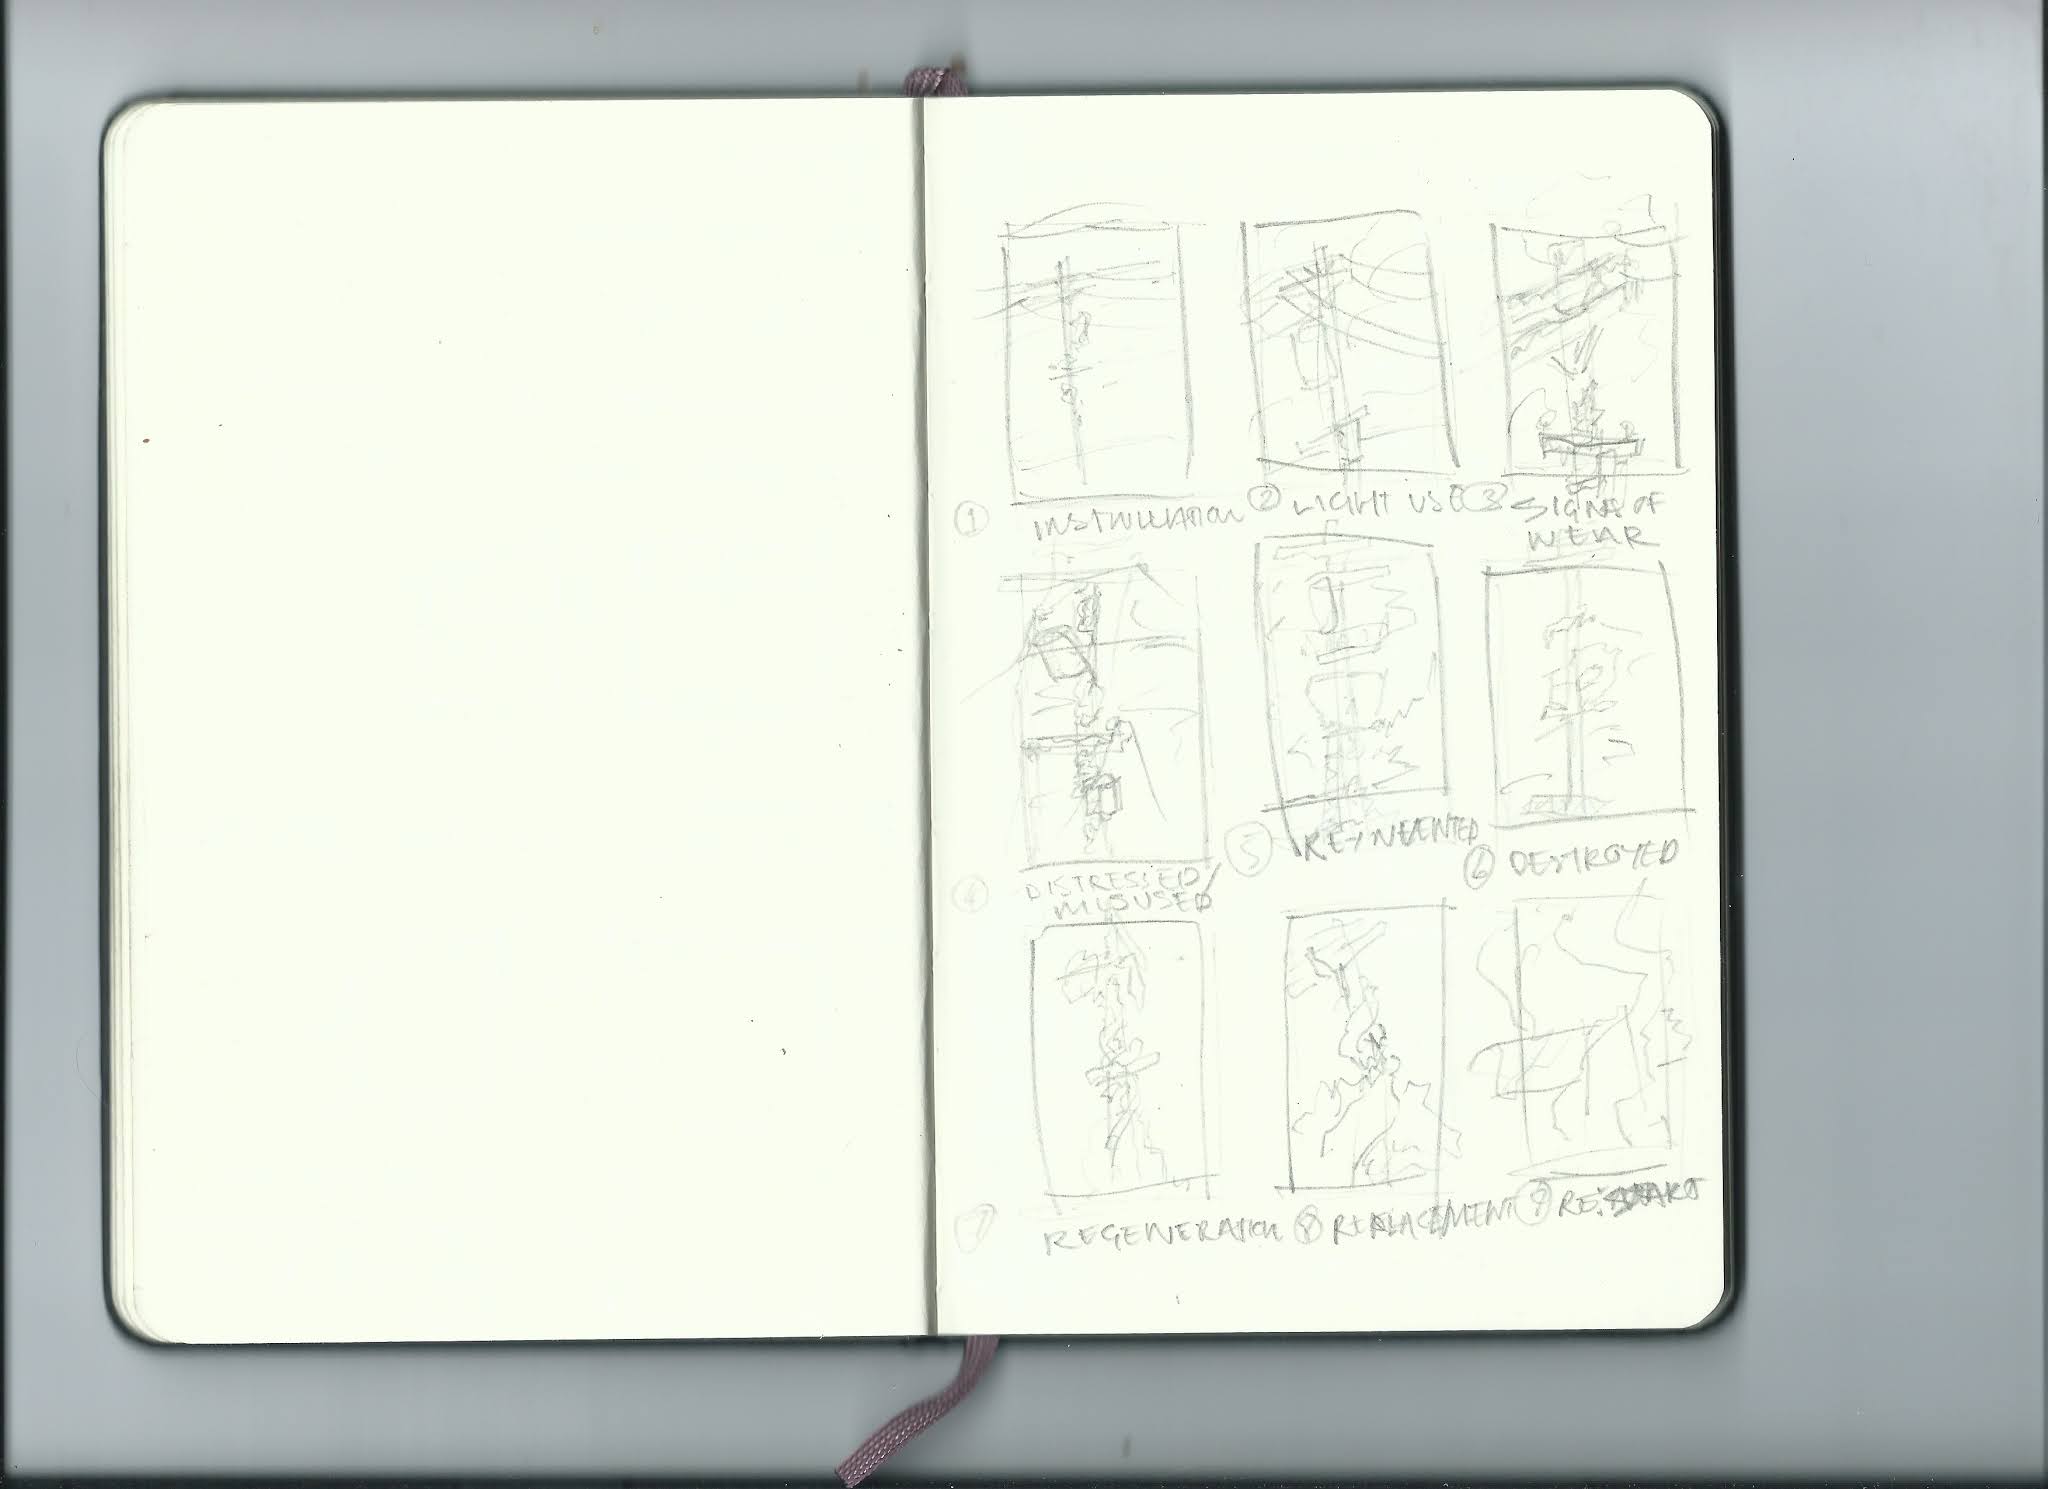
I threw these sketches together when I was still expecting to have the utility pole follow a series of scenarios that led to suggesting that some sort of climate disaster had taken place in the world the object inhabited. However, I have since changed my mind as I now want the utility pole to inhabit a world that follows a cyber revolved future.


rusting would of course still take place but these sketches omit the large number of extra cables and electronics that would be added as the scenes progressed.


The pages below show ideas for a platform that would have been built onto the utility pole after the world around it had flooded and the utility pole had been given a new use (possibly as an above water notice board)


As I mentioned though this plan has been scrapped.

Thursday, 4 February 2021

 Before Continuing


I realised whilst making this storyboard that it would not be the only way to achieve what I wanted from the scenarios, so I will show drawn examples of this before going ahead with my current plan. I also have to get sketching a lot of examples of weathering and rusting on my object to understand how it will change as it is not just to be the scenario that develops but also the model itself to be in the correct context.

By the end I currently hope to, maybe, only have a stump left where the utility pole once was.

 Storyboard Sheet


A sample of scenarios 1-5. A couple have been included twice because I'm not entirely happy with their layout each example is different from the other. As I say though these are only digital roughs....
I will hopefully get on to print some of the colour sections soon, showing how the sky or foliage would look when printed.


 Storyboard 1-5


no.1 'Installation'

no.2 'Light Use'


no.3 'broken in'


no.4 'Distressed'


no.5 'Forgotten/Re-invented'

These are the storyboard images so far, of course only rough digital mock ups of what the prints could look like and all will probably change heavily before completion but I'm happy with the outcome this far. Having the actual model of the Utility pole gives me complete freedom and control of the angle of the scenario and possible background layout it has given these collaged images depth which is something my work of this kind has sorely lacked in the past.


 Storyboard 2


I made this to show that with each scenario the focus on the utility pole would tighten with every scenario, the viewer will be brought closer to the object with every stage until we reach scenario 5, at which point the camera will begin to move back to its starting point. This is to show that there is  no real end as we often like to prophesise, actually it will just start anew.


This is scenario no.1 'installation'. For this I thought it would be good to show it in a setting of a power grid, which I photographed down the road from my parents house. I feel this shows the objects original purpose and is easily understandable as the beginning of the objects journey.


no.2 'Light Use'- in a rural area to show them as we regularly see them, out of the way. Experimenting with clouds and how I would draw them as they're exceptionally hard to photograph, particularly at this time of year. I'm also looking at which side the light or colour in this scenario could come from and and whatt shade it would be. Also suggesting a small inclusion of graffiti as I don't believe it takes all that long for these things t be carved or drawn on.


scenario no.3 'broken in'- looking at more of the same, cloudscapes (but possibly more violent and surrounding than in the last one), begininning to look at sections of heavy graffiti and deep marks of heavy vandalism, thinking of including the drawing, or maybe photograph, of a run down building exterior, something that really suggests wear and places in its now relevant urban landscape.


scenario no.4 'distress'- at this stage, I can say with certainty, we're in the future. I think it's arguable that the previous image was but don't wan't to say with absolution, this one however should appear obviously, futuristic. I found photos of abandoned buildings and those in extremely poor shape, then started playing around with ways of displaying overgrown foliage. I also thought, in the section of architecture I plan to draw, maybe place a single silhouette of a person, signify a stranger in the location? I don't want my futures to be completely void of  human presence.


scenario no.5 'Re-invention'- at this stage I kept my rough of the scene itself loose, throwing in an ancient ruin I photographed and some marshy land under it. At this point I expect the object itself will hav changed so drastically that it will be hard to plan to any great degree what the scene is to look like. What I do know, is that I want this as my turning point in the series. I want there to be signs of visitors to the object in the form of it being used as something other than it's original purpose, maybe a camp for some humans, a nest for some birds or something similar. From here I want the camera to begin moving away from the object again giving a fuller view of the area once more.


 Storyboard Idea


I decided that a storyboard would be the best way to get my idea across and explain what it is I plan to do with these models.


I started with a very basic 1 page rough of what I wanted from these models.


I began fleshing it out in roughs taking notes of quotations I found that helped my understanding of my plan

"Scenarios are neither forecasts nor visions of the future, but analytical explorations of possibilities"- Eva Horn (The Future of Disasters)


It was at this point I realised that rough storyboarding wouldn't really cut it. I had a lot I needed to figure out about each scenario and needed to properly plan as opposed to wing it from some low level roughs.


 Materials


Where I could, I tried using recycled materials, here for instance I took apart an old toy drone that was broken and removed the wiring and the magnetised weights that allow it to fly these became the wires and pegs on the utility pole.


Here also are some lego pieces I sanded down and used as the cable connectors.


For the main body of the Utility pole and the transformer I used wooden dowel which had been lying around the house for quite some years and styrene sheet that I had ordered in.


Utility Pole Model


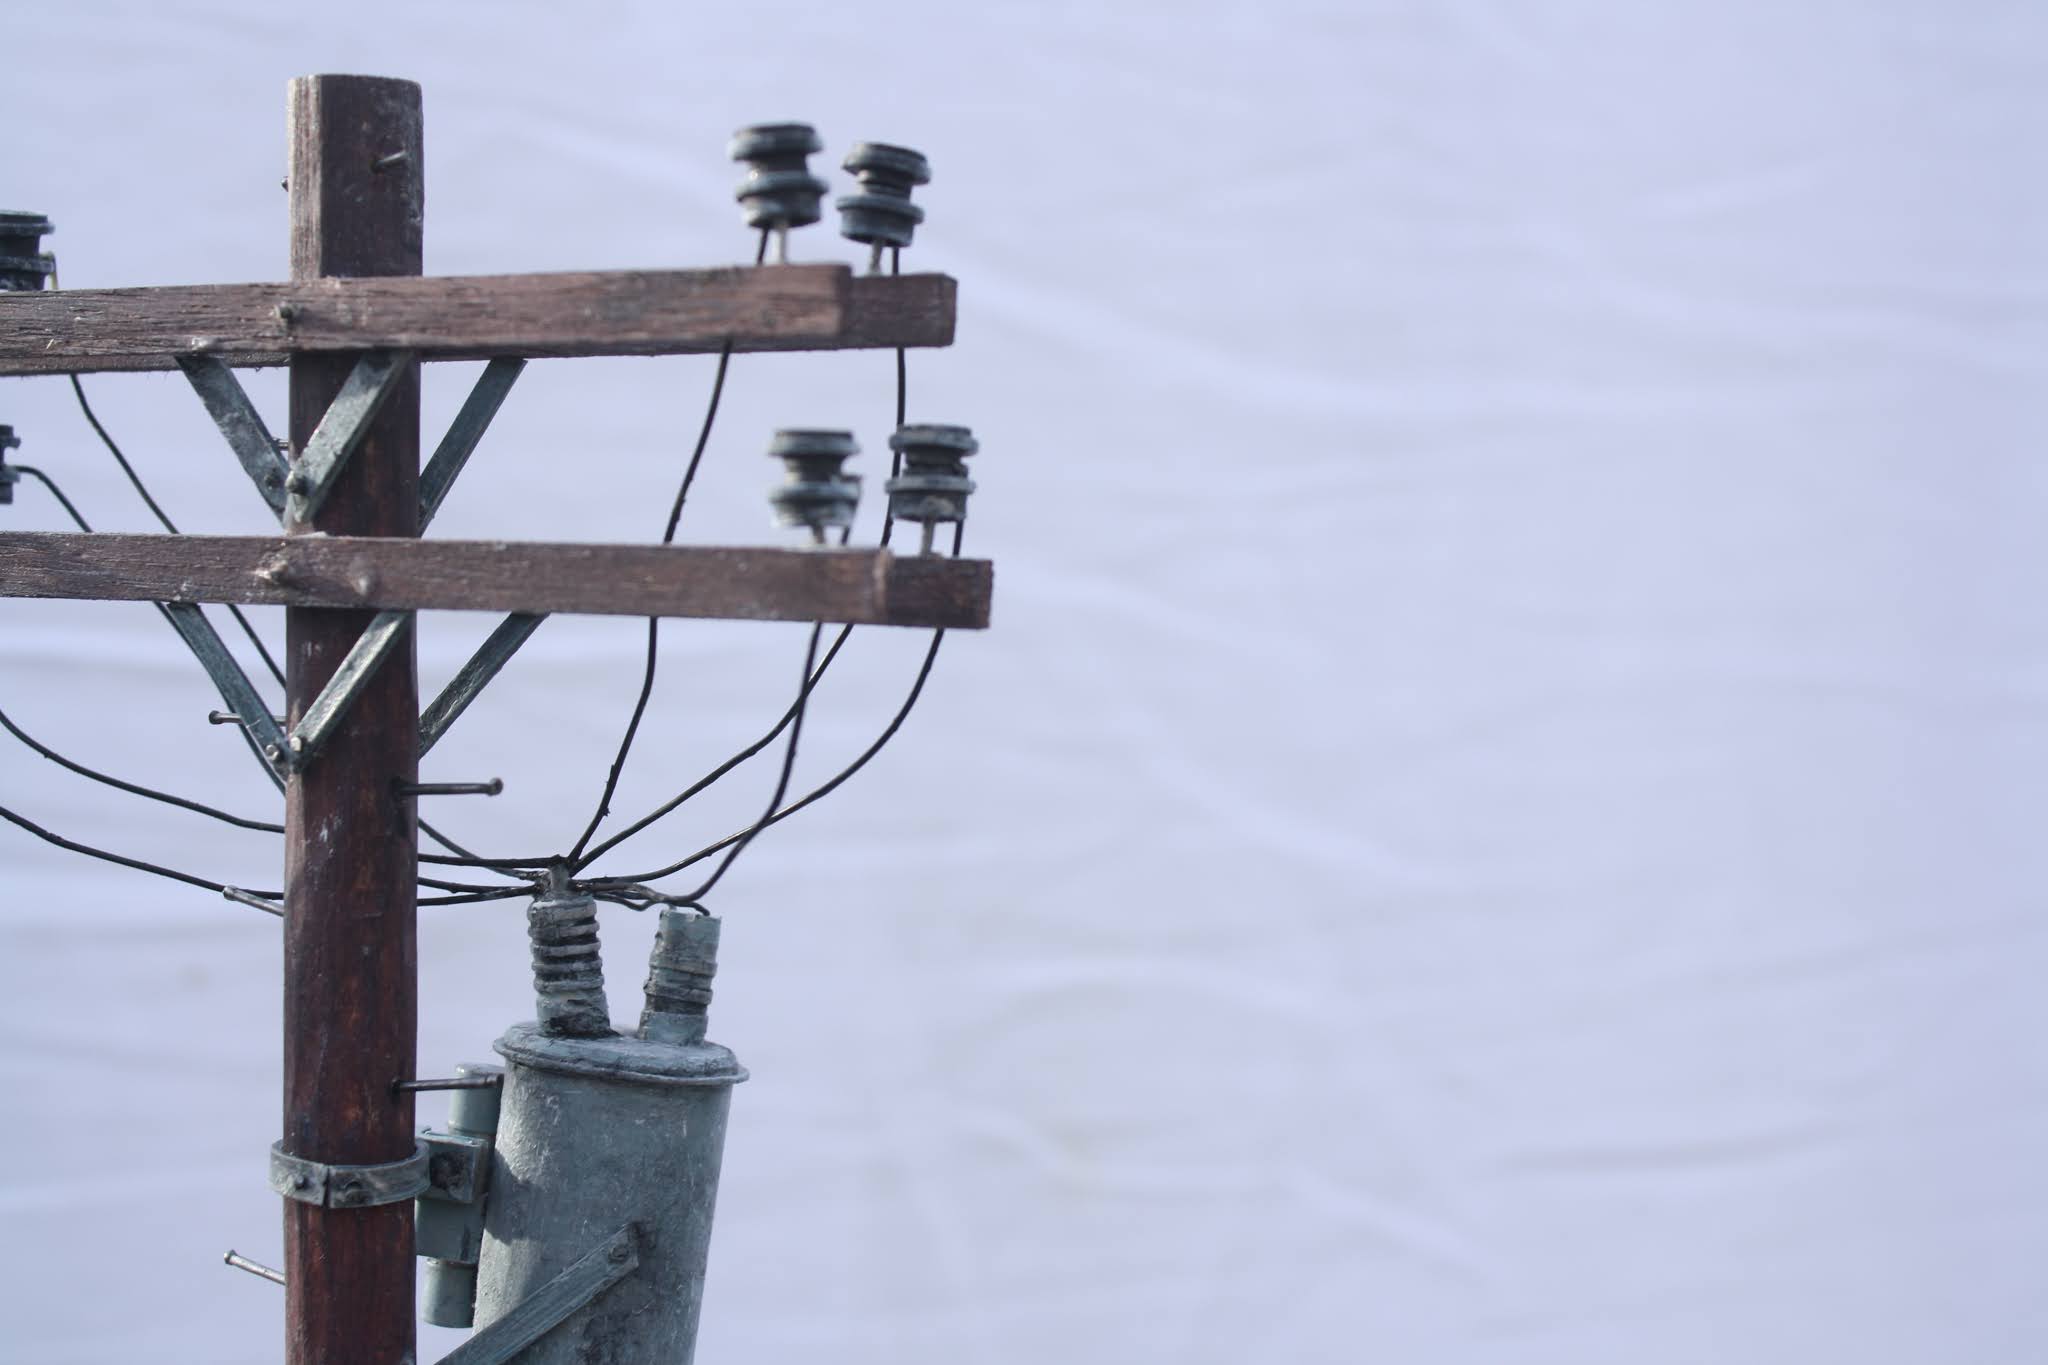
Images of the Utility Pole after completion, quite happy with the turnout, I am currently putting together the phone box and dumpster too. The model was completed to 1/12 scale making it around, I think, 45cm high.


 Utility Pole


Although very faint, these are rough technical drawings of a Utility pole I plan to build next.

Tuesday, 26 January 2021

 Where do Prints Come in?


At this point it is reasonable to wonder at which point my media of print enters into things. As print is merely the media in which I hope to display these miniatures I have left worrying about that until I need to. I have kept up with the designing of new prints and currently have the blocks cut for another and am in the process of ordering more woodblock, for another two prints.

With these prints I hope to conclude my research into how 3-dimenional space can be displayed in print. I then intend to use the miniatures not just to display the degradation of urban space (which I'm currently thinking of doing through a sequence of consecutive photography, showing each miniature slowly degrading), I also plan to use the photographs I take in a further series of prints that show the miniature degraded inside an urban space that I have drawn myself, presented in the fashion of foreground/background like space was in my 'Waka' prints.

As this is my goal, I may only get mock-ups created in time for the assessment, leaving the actual print work to carry me smoothly into Unit X. We'll see how it goes though...

 Phone Box Construction


I started with the backplate for the phone box and the extrusions that would essentially become the four posts that supported it. Then onto the top box.


Next I tackled the light that is in the ceiling of the phone boxes. This proved tricky as I couldn't find any clear reference photos of the ceiling and due to lockdown couldn't really travel too much just to find a phone box to photograph, this wasn't to bad a situation though as I did start this unit trying to move away from relying on photos of the real world and focuse more on having full personal control of the spaces. I slightly winged it.


It wasn't easy but i managed to give the light a 1mm rib as I seem to remember alot of lights like this having one.


This was pretty complex stuff. The main body and most of the elements I made from 0.25, 0.5 or 1mm styrene sheet. The light I needed to be clear so use an empty packet of plastic that previously housed some sliced ham, (washed it first of course) it wasnt the most pliable or easy to work with.


In the end, after a lot of wrestling and several failed attempts I had something I was happy with.


The gummed, tacky effect of the casing was the easiest part to achieve. After removing the label from the packet of ham there was a glue residue that created the perfect effect. However, the adhesive qulity was impossible to be rid of entirely so that made it a lot harder to work with as it kept wanting to stick to both me and the scalpel.


The actually light bars were created by chopping up some cotton buds and placing them inside a box casing which were then fixed to the reverse side of the ceiling platform.


Next came the side panels which were constructed out of layers of styrene and an acetate sheet running through the middle of them. After this I began making the small elements that are found on the solid wall of the phone boxes e.g. elcctronics box at base, poster frames, shelf for phonebook. None of these things were glued down yet as I plan to paint them separately before putting it all together, all this is glued in this photo is the backboard and top box.


Another angle.


And again, another angle.


Reverse side, with space for the telephone sign. The core of the backplate was made from cardboard.


Front side. Again, the two front extrusions were not glued for this photo.


Side panel no. 1.


All following photos are of the receiver.


Phone and holder.


For an idea of scale.


Side angle, (phone not glued)


At this stage the only things left to make are the wire connecting the phone to its holder which I plan to make out of a guitar string and if i can find something suitable then the tread plate textured backboard to the main stanchion.

Other than that the construction of the phone box is completed.

I was going to jump on to painting it right away but I'm enjoying construction and don't see the point of jumping from construction, to painting, to construction again and again so, I'm just going to move on to constructing the next miniature...